Curing cannabis is a crucial post-harvest process that plays a significant role in enhancing the overall quality, potency, and flavor of the final product. What is curing? It’s simple! Curing involves carefully drying cannabis flowers (buds), which helps protect those delicate trichomes that have all the goodies you’re looking for. This process can’t be skipped, and I’m here to show you exactly how it’s done.
The Importance of Curing Cannabis
It’s hard to express the importance of properly curing cannabis without freaking out those new to growing these incredible plants. Yes, the curing process is incredibly important because it does significantly affect the final aroma, flavor, and potency. However, by following a few simple steps, it’s hard to mess up the curing process so badly that it ruins a crop you just spent 3+ months growing.
Now, there will be times when you’ll accidentally dry your flowers out too fast, creating less-than-desirable crispy buds, but as long as you’re diligent about keeping mold and mildew away, you’re going to be OK.
During the early curing process, as the buds dry, allowing them to be stored long-term without worrying about mold or mildew, bacteria munch down on sugars, starches, and chlorophyll that gives uncured flowers an unpleasant grassy taste/burning sensation. As the curing process goes on, various chemical reactions happen, such as THCa transforming into THC. Additionally, curing helps preserve trichomes, many of which are very volatile to light and heat.
Preparing for the Curing Process
Technically, the second you remove a flower from the plant, you have started the curing process despite the heavy majority of people, including myself, referring to it as the drying phrase. Think of it like this: while not all curing is drying, all drying is a part of the curing process, as moisture removal is the main focus during the drying stage.
Regardless, your main focus is controlling temperature and humidity. Too hot and too dry, and you risk losing a significant amount of trichomes. Too wet, however, and you risk your entire crop, as excess moisture is a breeding ground for mold and mildew. And cannabis flowers right off the plant are incredibly wet and dense.
Because we need to optimize temperature and humidity, a hygrometer is of the essence. Point blank, it will be nearly impossible to cure without one. In fact, I suggest grabbing a handful of them that are small enough to be placed in the individual jars you’ll need after the drying stage.
Step-by-Step Guide to Curing Cannabis
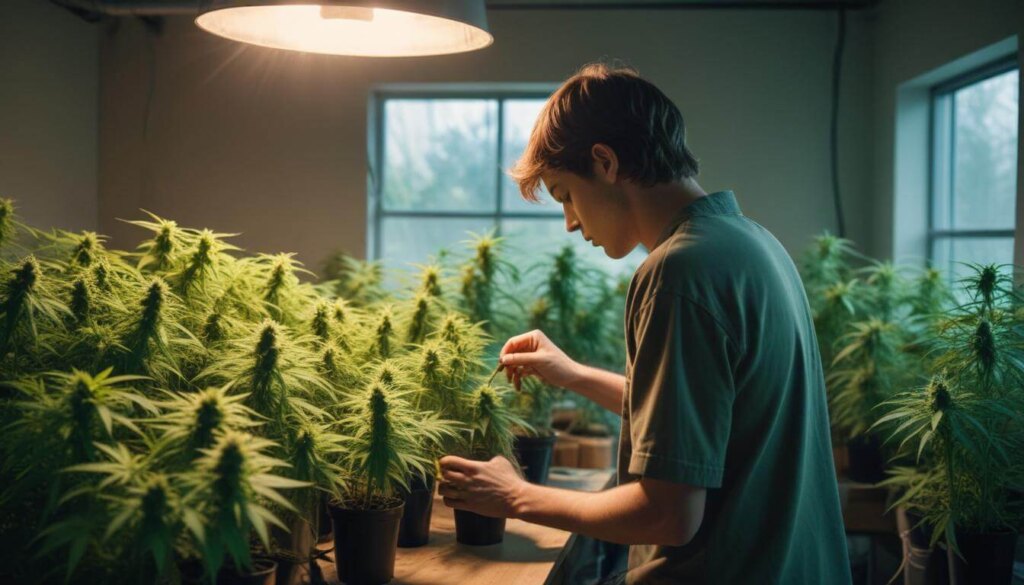
Harvesting:
To achieve the optimal cure, we need to start with an optimal harvest. When harvesting cannabis, I avoid watering the plants the day before unless I’m fighting with a very dry climate. I suggest you do this the first time because if given the option, I’d take a flower that’s a little too dry vs. too wet. Additionally, I harvest in a low light environment and just after lights have come on, as it’s potentially the best practice for maximizing and preserving the terpenes.
You can harvest by removing the individual buds from each other, but I keep it simple and just separate the main stems away from each other. You can also just cut the plant down at the base and hang it to dry. I only remove the large fan leaves, along with any leaf material that isn’t covered in trichomes. This gives me flowers that still have a lot of access to water, allowing them to slowly dry out over 1-2 weeks.
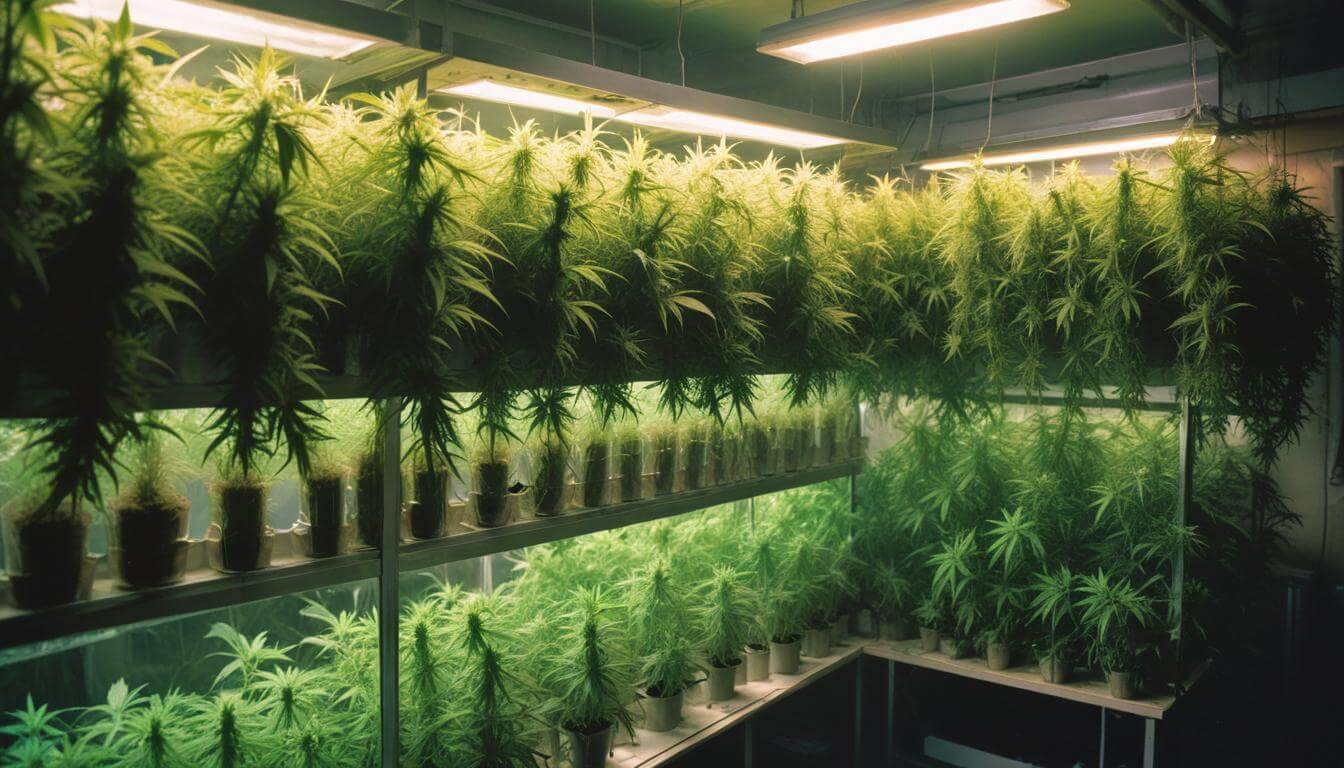
Drying:
After harvesting, I recommend simply hanging up your flowers by the base of their stems in your grow tent/space as it’s already set up. You can also use drying racks, but for me, they dry out flowers a little too fast. You will also want a fan for air circulation, i.e., you should feel air moving through the buds, but you don’t want it directly pointed at them.
Regardless, you want to limit light, giving as much darkness as possible while maintaining a temperature between 60-70°F (15-21°C) and humidity levels around 45-55%. How much non-flower material you leave and the plant materials’ starting moisture levels can push you out of this humidity range, however. This is fine because your goal is to slowly dry out your flowers over 1-2 weeks until they no longer feel damp.
Curing:
When your buds no longer feel damp to the touch, it’s time to place them in jars. Before that, go ahead and snap a few stems. Small side stems should break, but the large main stems should only bend. This is another reason I leave my buds on their stems for the drying process.
When breaking down your flowers so they can fit into jars, you can completely remove all the visible stems or remove just enough to comfortably fit your buds in the jars. Jars should only be filled to about 80-90% max capacity. You want to keep humidity in the jars between 60-70%, leaning to the higher side in the beginning, as the buds still have a lot of drying to go.
When humidity surpasses 70%, you will need to remove the lids to burp (air out) the jar to prevent mold and mildew. Regardless, you should burp about once a day for the 1-2 weeks before reducing to 1-2 times a week — only do that after your humidity has stabilized to about 62%.
Monitoring and Adjusting During Curing
While the cannabis curing process lasts for several months, the extreme majority of it takes place only over about a month. So while you should always monitor your flower and make adjustments when needed, after the first month, things are pretty hands-off. The flowers are also consumable by that point.
When working in a clean environment, after your jars reach 60-62% humidity, mold and mildew are usually a thing of the past, and the biggest concern is keeping the flowers from drying out — many people use Boveda humidity packs when storing cannabis for more than a few months.
Properly cured cannabis won’t feel damp, but it won’t feel crispy either. It should easily grind up in a grinder, but shouldn’t break down to the point where it’s powdery. When opening the jars, you should no longer smell that fresh wet hay aroma, meaning chlorophyll has been successfully broken down — this should also result in a clean taste. The buds should have a similar smell to them as when they were on the plant. If it’s more intense, then great job nabbing that optimal cure!
Advanced Curing Techniques and Tips
It’s annoying to hear, but when you’re new to curing cannabis, I’d rather you rush the process rather than extend it. Try to get at least five days of drying, but don’t kick yourself if your flower needs to be jarred by day eight. Then burp your jars at least once a day for a week, then every few days the week after — humidity pertaining. This gives you nicely cured flowers that are ready to be consumed in about three weeks.
Is a fast cure optimal? No, but when pushing for an optimal cure, mold and mildew are always right around the corner, and novice gardeners usually don’t have the eye to catch them before it’s too late.
Now, that that is out of the way. The more you can extend the drying and curing process, the better, as this puts less and less stress on the delicate trichomes. The less you touch your buds, the better, so make sure you have some gloves on hand.
Tools that can help you optimally cure include:
- Hygrometer
- Airtight Containers (Jars)
- Humidity Control Devices
- Trimming Scissors
- Bud or Nitrate Gloves
- Curing Racks (good for high humidity climates)
Conclusion
Think of the curing process as the perfect icing on a cake. It brings out everything we love about the cake while maximizing its flavor and aroma. An optimally cured flower has a clean flavor, pungent aroma, and is easy to handle when working with it.
I encourage both newcomers and advanced cultivators to look over the steps to curing cannabis outlined in this article. However, optimal conditions for one grower may not be optimal for you. For example, some cultivators are adamant that they need to reduce humidity in their curing jars to 55% due to living in a higher-humidity climate. So I equally encourage you to experiment and refine the curing techniques that work best for you. This includes when you last watered, how much non-flower material you leave connected to the flower so it dries slower, and understanding your climate.
Nicholas McKenzie - Cannabis Research Specialist
Nicholas has spent the last ten years teaching gardeners, businesses, and enthusiasts how to succeed in the exciting and ever-changing world of cannabis. Whether he’s in the field getting his hands dirty or in the lab studying cannabinoids and their uses, Nicholas is passionate about bringing well-researched, factual, and concise information to an industry that very much needs it.