The drying process is a critical stage in cannabis cultivation that protects all that potency you worked hard to encourage. Additionally, a proper dry enhances the flavor, extends shelf life while preventing mold and mildew, and sets you up for an optimal cure that will extend many of the same benefits. The drying stage will only last 1-2 weeks on average, but if we aren’t careful, we can do a lot of damage to our buds during that brief time.
Understanding the Marijuana Drying Process
Several beneficial things happen during the marijuana drying process. Freshly harvested flowers are incredibly wet and produce an unpleasant smoke. Combine that high moisture content with highly dense buds, and you have a perfect breeding ground for mold and mildew.
Another benefit of drying is trichome protection. Both the cannabinoids and especially some of the terpenes are very sensitive to heat and light, but slowly drying in a cool, dark, and well-ventilated environment will minimize the risk of degradation or conversion of cannabinoids and terpenes into less desirable forms. Chlorophyll, which produces a harsh taste, starts breaking down during the drying stage too.
Preparing for Drying
Choosing A Location
You want to dry your flowers in a cool, dark, well-ventilated, and environmental-controlled area that’s dedicated solely to drying. If you’re growing indoors in a grow tent, you already have a location that is set up for success. Ideal temperatures are between 60-70°F. Start with humidity levels between 50-60%; go lower if you’re seeing mildew issues and go higher if flowers are drying out too fast. There are other tricks for achieving a proper drying time, so only go slightly out of the range.
Equipment Needs
Indirect airflow from a fan and potentially an exhaust fan are both good options for fresh and even airflow that dries flowers at the same rates and keeps pests away. A hygrometer with a built-in thermometer or another tool that measures humidity and temperatures is essential, as well. Non-essential tools that can help include drying racks, timers for controlling fans, and blackout curtains to keep sunlight out.
The Different Drying Methods
When it comes to drying cannabis, you can simply hang the plant upside down to dry. You can hang up the whole plant or hang the individual branches — I usually quarter my plants so big colas aren’t touching each other.
This method promotes a long and slow dry, especially if you’re leaving on the fan and sugar leaves (dry trimming). The thought is the longer you can slowly dry your flowers while preventing mold and mildew, the better. Preventing mold and mildew with a long dry is challenging.
A second option is using drying racks. Drying racks allow for better use of vertical space and make it easier to monitor the individual buds for uneven drying and mold. Drying racks also promote a more even drying process, minimizing the loss of THC and terpenes.
You do need to be careful you don’t dry your buds out too fast since buds are typically more aggressively trimmed beforehand. As well, heavy buds can form a flat spot on the side against the rack, but curing can take that flat spot away.
More advanced drying methods include freeze-drying and oven-drying. I think it’s best for most beginners to avoid these drying methods until they have mastered the basic method.
How Long Does It Take to Dry Weed?
Cannabis flowers will start drying pretty much the moment they’re harvested, but you may not notice that distinctive drying smell for a few days. For those new to drying, aiming for about 7 days is a good place to start. For those with some growth under their belt, feel free to aim for 10-14+ days.
Humidity levels, temperatures, how much plant material you leave on the buds, etc., will all determine how long it takes for your buds to dry out. In the past, visual cues such as small bends snapping while big bends stayed pliable were the best methods for determining when the flower was ready to be cured. The stem-snap method works well as a baseline, but in this day and age, we have moisture meters that can do a better job.

Best Practices for Drying Marijuana
First, here are some key tips for optimizing the drying stage:
- 1: Keep temperatures between 60°F and 70°F.
- 2: Maintenance humidity levels between 50-60%.
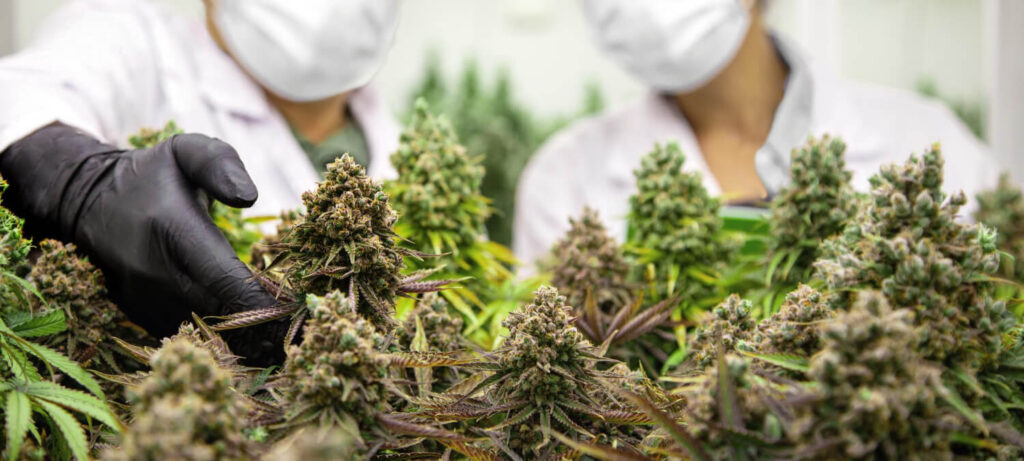
- 3: Handle buds with care and use nitrile gloves to reduce trichome loss.
- 4. Don’t overcrowd your buds, as buds that touch are at a greater risk for diseases and uneven drying.
- 5. Regardless of the drying method, monitor and rotate the buds.
The biggest issue cultivators have during the drying stage is rushing the process. But you just spent several months working hard to maximize potency and quality, and ruining that in just a few days can leave you feeling hopeless. Treat this stage with the same respect as the stages that came before (when the plant was still alive). Don’t skip out on tools or monitoring.
Listen Up Beginners! With all that said, a rush dry isn’t the worst thing in the world, especially compared to moldy and mildewy flowers. So please don’t worry about going for a long dry (2 weeks) until you feel comfortable.
Final Thoughts
When it comes to optimally drying cannabis flowers, slow and steady wins the race. But you don’t have to be a complete tortoise, because mold and mildew are always on the prowl, waiting for the perfect time to ruin all the work you did over the past several months.
To start, keep temperatures between 60°F and 70°F and humidity levels between 50-60%. For beginners, if your flowers are drying out in just a few days, consider raising humidity levels, reducing airflow exposure, and focusing on dry vs. wet trimming. Do not feel you need to push for a longer dry around 14 days until you have a few dries and cures under your belt. Last, while the stem-snap test provides a good baseline for determining when flowers are ready to be cured, currently nothing beats using a moisture meter. But if there is one meter you should be using when drying, it’s the hydrometer.


