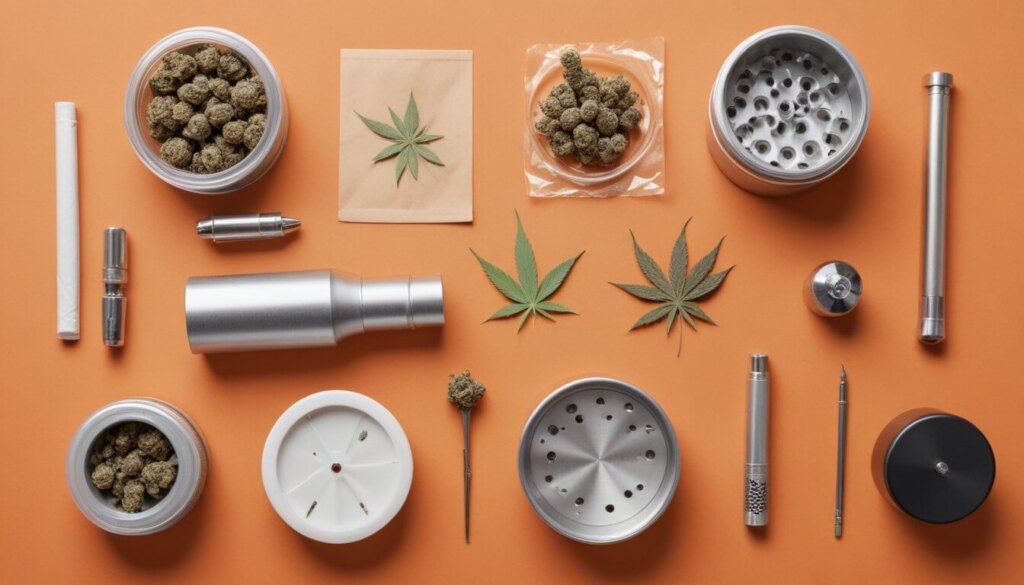
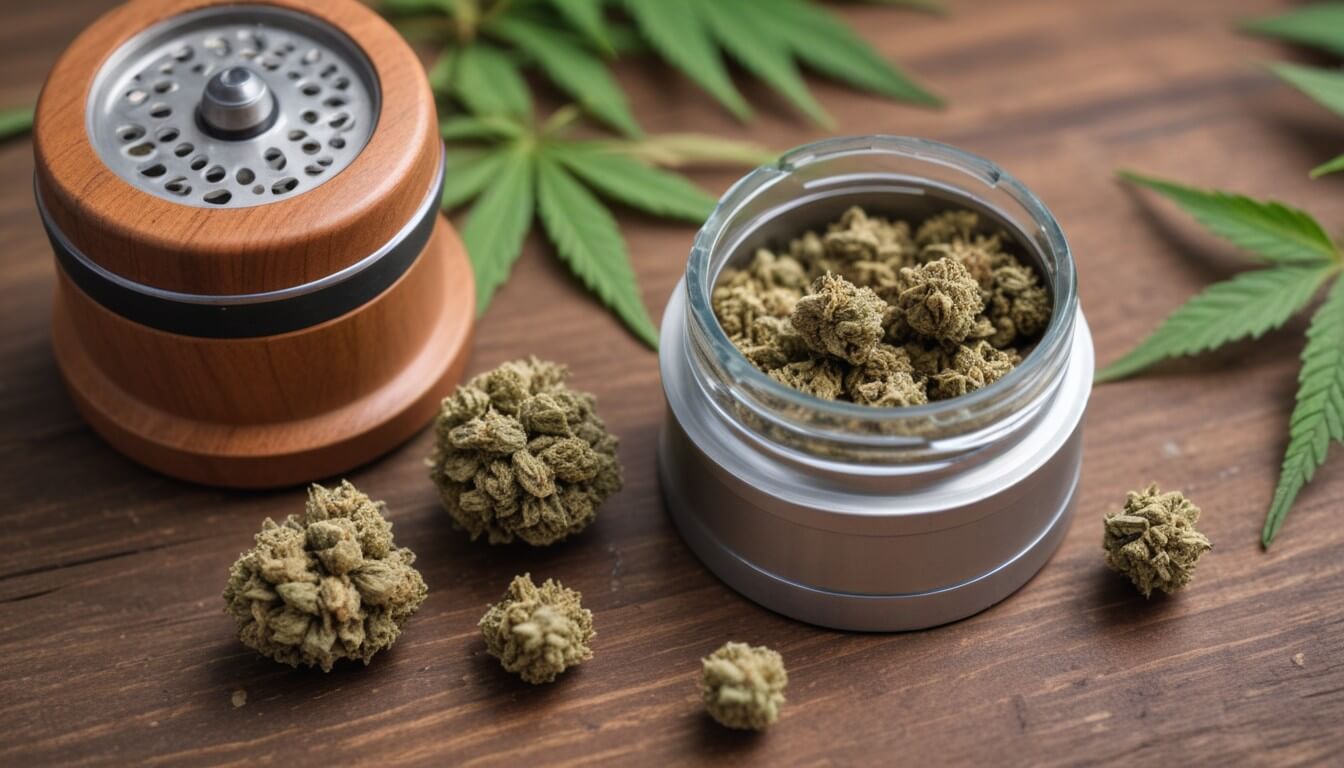
While I can sing praises about cannabis for days, it does tend to have a dirty aspect to it due to all that stickiness, i.e., those resinous trichomes that gunk up the tools we use to consume it. Whether it’s your vaporizer whip or the grinder that grinds up your flower, dirty tools can make you sick due to mold. Then, they can cost you money because they aren’t as efficiently delivering the cannabinoids and terps to your system. So here is how to clean a grinder to get the best out of your cannabis flower.
Essential Supplies for a Clean Grinder
For Metal Grinders
- Isopropyl alcohol (90% concentration or higher)
- Small brush (e.g., toothbrush or paintbrush)
- Warm water
- Baking soda (for odor removal)
- Food-grade mineral oil (for rust prevention)
For Plastic/Acrylic Grinders
- Mild dish soap
- Warm water
- Soft brush (to avoid scratching)
- Vinegar (for odor removal)
- Lemon juice (for persistent build-up)
Step-by-Step Cleaning Process
If you have been looking for a step-by-step guide to cleaning your grinder while learning how to keep it in tip-top shape, you’re in luck. Whether your grinder is metal or plastic, I’ve been cleaning both for decades and have both processes down to an exact science.
1. Disassembly and Pre-Cleaning
Most grinders have 3-4 individual components. There is, of course, the lid, which, when you twist it off, you’ll notice a variety of teeth that will finely grind up your flower, allowing it to fall through holes into the chamber that collects it below. The lid is the most important part to keep clean. Not only does resin build up fastest, making it harder to grind, which results in uneven particle sizes, the resin will steal more of your trichomes off your flower. Additionally, you want to keep the screen in the collection chamber clean, so that the kief that collects in the chamber below passes more easily.
To disassemble your grinder, you simply need to twist off the sections you want to clean. But before you go and add your cleaning chemicals, I need you to hold your horses. Because I have a lovely little trick I want you to do during the disassembly process.
2. Freezing for Easier Cleaning (Optional)
Before completely disassembling, I want you to freeze your grinder first — baring the material is safe to freeze. Metal freezes well; plastic not so much. Start by freezing your grinder in 5-10 minute increments. Every 10 minutes or so, take your grinder out and give it a sake and a grind. This helps some of that build-up ‘read’ highly potent resin to break off — which you can collect.
Not only does freezing nab yourself some extra kief, your grinder will be easier to clean. Way better than trying to use a solvent to collect it. There is debate about how freezing affects the potency of the kief already in the kief catcher. So you may wish to remove it before freezing — especially, if you’re repeatedly subjecting your kief to heavily fluctuating temperatures
3. Deep Cleaning Methods for Different Materials
As you’re about to see, there is a preference when it comes to which material makes for the best grinder. And let’s cut to the chase that is metal. Not only can you freeze a metal grinder, you can use my favorite thing in the world….Isopropyl Alcohol. It makes a dandy eggnog — don’t do this, it’s a play on a Lewis Black joke, you can go blind drinking ISO! A little bit of ISO and a coarse salt will keep your bong looking groovy baby! It’s also great when growing. I just really adore the stuff.
Regardless of the material, grinders are cleaned in the same way — you’ll just need to be more careful cleaning the teeth and stick to using warm, soapy water if your grinder is plastic/acrylic. Start by twisting off all the components. I prefer to soak my grinders first, before using a brush, such as a toothbrush to clean the grinder’s teeth and kief screen.
4. Reassembling and Post-Cleaning Care
After you’re satisfied with the cleanliness of your grinder, please wash off any parts that touch your preferred cleaning solution. Give them a wipe down and let them air out for a bit before reassembling. Keep it dry and clean, and you’re all good to go!
The more often you clean your grinder, the longer it can stick around before something on it breaks down — usually, that’s the teeth. This especially goes for plastic/acrylic. If you have a metal grinder that has a plastic middle section for viewing your weed, you’ll want to avoid disassembling/reassembling it from the section where the plastic meets the metal as it can cause plastic flakes to break off into your flower — that is, if you have that option.

Tips for Regular Grinder Care
So how often will you need to clean your grinder? Well, there are a lot of variables, and you’ll have to experiment around to learn the early signs that it’s time your grinder needs a good scrub down. For example, the stickier, the ickier, i.e., the greater the potency of your flower, the more frequently you’re going to need to clean your grinder. I’ll be upfront; I’m not the best about catching those earlier signs. And if you’re like me and great at blocking things out/not great at noticing dirtiness building up, then consider setting an alarm on your phone. Just make note of when you clean, and after a few times, you can create a cleaning schedule based on how often you partake in the green goddess.
Troubleshooting Common Cleaning Challenges
Maintaining a clean grinder is crucial for optimal performance and longevity, so I wanted to end this article with a bunch of tricks. For plastic/acrylic grinders, a regular grind of lemon juice can help discourage persistent build-up. For metal grinders, ISO is pretty much always your best friend, but you can give it a helping hand with very fine salt (not coarse like we want for a bong). You’ll just want a little bit, so you don’t wear the metal teeth down. This should pretty much remove any odor off a metal grinder, but baking soda can be used. Where vinegar is a good option for plastic/acrylic ones. Last, but not least, while I personally have never needed it, a food-grade mineral oil can help prevent rust if your grinder is metal.


