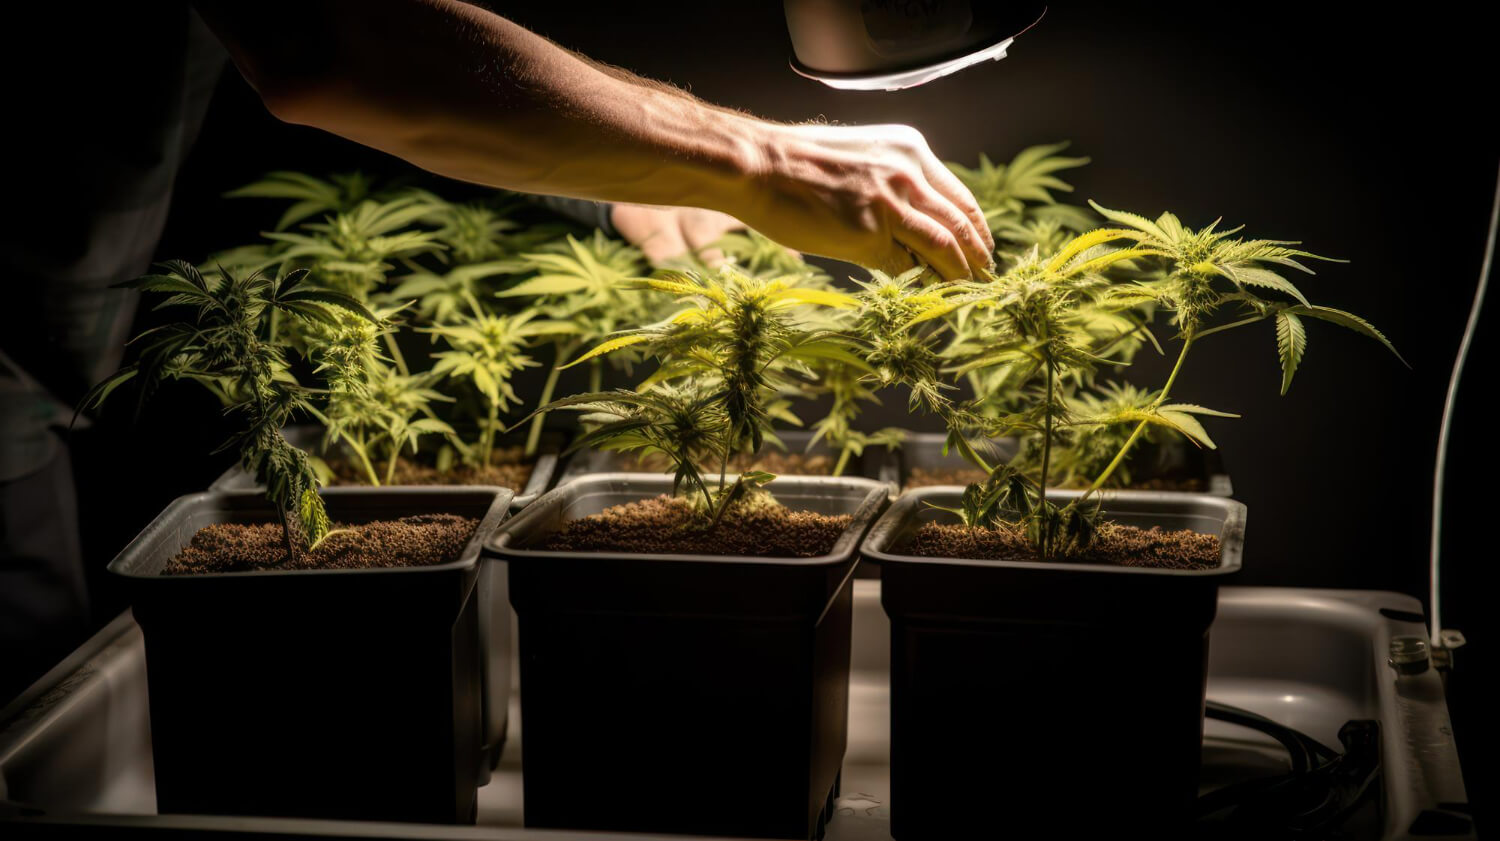
By starting your cannabis plants out in small containers and then periodically transferring them to larger ones, you can encourage your crops to grow a stronger foundation of roots. A healthy root system can better uptake fertilizer and water while giving the plant biomass above a strong foundation to anchor to. Transplanting is an essential part of the cultivation process for many growers, and perfecting it can give greater yields and higher-quality flowers.
Understanding the Need for Transplanting Cannabis Plants
To encourage a strong and healthy root system, plants need a container that isn’t too large that their roots spread out all over the place, creating a weak structure. In addition, the bigger the container is to a plant, the easier it is to overwater it.
However, to prevent the roots from becoming too tangled into a ball, which leads to root-bound, or from drying out too quickly, leading to underwatering, plants need to be transferred to larger containers as they grow.
When to Transplant Cannabis Plants
Nailing down the perfect time to transplant can be a bit tricky, especially, if you’re new to gardening, but there are several things you can pay attention to to tell. And just because you missed the optimal transplant window, doesn’t mean things are too late, though you will have to do a little more work.
Observing Plant Size
One easy way to tell when it is time to transplant is by comparing the size of the plants with their pots. When a plant’s size matches its pot, it’s usually safe to transplant. Some growers will wait until the plants are about twice the size or when the roots notably poking out the bottom drainage holes, but this means you need to water more.
Watering Frequency
Speaking of irrigation, if you find yourself watering the plant more frequently than usual or seeing poor drainage, it means the plants are likely taking up most of the available container space.
Plant Issues
Wilting, yellowing, and slowed growth, especially after increasing fertilizer strength, are all potential signs plants are in too small of pots.
Choosing the Right Pot
Choosing the right pot is key to successfully transplanting. Picking the wrong starter pot can make transplanting a pain. Choose the wrong final pot, and your plant may not reach your desired size.
Seedling Stage
Start with small pots (2-4 inches in diameter). Plastic solo cups are very popular for starting seeds and clones off. They are the perfect size for the first couple of weeks, allowing you to get runoff quickly to avoid salt build ups. Then it couldn’t be easier taking the plants out of the cups since you can make two cuts at the top and peel down the plastic. Transplant out of them at the right time, and you will barely have to touch the roots.
Vegetative Stage
When plants have around 7 nodes, they are in the vegetative stage, and this is a good time to perform the first transplant. If you plan to use pots that can air prune the roots, there is a good chance you can transplant your crops into their final containers, especially if you’re working in a small indoor setup. Aim to transplant into 3-7 gallon pots.
Flowering Stage
It’s OK, if needed, to transplant your plants the first two weeks after flowering initiation, but you should really avoid it after.
Looking To Minimize Transplanting?
Many growers find transplanting an essential step, but by picking the right pot, the amount of times they need to perform it can be minimized, if not taken out altogether.
Fabric pots and other pots that encourage air pruning allow growers to grow their plants in smaller than normal containers. As the root tips reach the sides of the container and are exposed to air, they dehydrate and undergo a process known as air pruning. This causes the root tips to die off or stop growing, preventing them from becoming excessively long or circling around the container. As well, their designs discourage overwatering. There is something incredibly inviting about planting a seed into its final medium, and with 2-5 gallon fabric pots, that’s completely doable.
Step-by-Step Transplanting Process
Materials Needed
- New pot or container (larger than the current one)
- Fresh potting mix or soil
- Water
- Trowel or garden shovel
- Fertilizer (optional)
- Rooting hormone (for clipping/clones)
- Saucer or tray (for excess water)
Steps
Minimizing transplant shock is your biggest goal when transplanting, and by following the steps below, you can do just that.
1. Prepare the New Pot
Choose a sterilized pot that is larger than the current one. Fill the new pot with fresh, well-draining potting mix or soil until it’s about 1/2th to 3/4th full.
2. Water the Soil (Optional)
Water the soil in the new pot thoroughly a day or two before transplanting. Moist soil can help reduce stress on the plant during the transition and start homogenizing the medium.
3. Choose the Right Time
Avoid transplanting when temperatures are at their highest. Transplant during the early hours of the day or during the evening when temperatures are cool.
4. Remove the Plant from the Old Pot
How you remove the plant from its old pot depends on the type of container. You can cut small disposable smalls with scissors, and the plants should just pop right out. For transplanting out of fabric pots, you’ll need to roll the sides down the root mass. Please research your container for more help.
5. Inspect and Prune Roots (Optional)
Inspect the roots for any signs of diseases or rot — it’s usually recommended you remove dark brown and sludgy roots, especially if you’re seeing foliage issues.
6. Place in the New Pot
Create a hole in the center of the new pot that is deep enough to accommodate the root ball. If the root ball is too dense, you should tease some of the roots with your hands – a chopstick works well. Position the plant in the center, making sure it sits at the same depth as it was in the old pot.
7. Fill with Soil
Fill the space around the root ball with fresh soil, softly pressing it down to remove air pockets that might occur. Leave about an inch of space between the soil surface and the rim of the pot to facilitate watering.
8. Water Thoroughly
Water the plant thoroughly after transplanting as it helps settle the soil around the roots. You don’t need to increase your fertilizer strength since plants will have more access to more water and nutrients by default, but wouldn’t dial down your fertilizer dosage unless you’re planting into hot soil or seeing toxicity issues.
9. Provide Support (Optional)
If the plant is tall or top-heavy, which often happens to plants transplanted too late, provide support with stakes or ties until the roots grow out.
Post-Transplant Care
Allow plants to recover before stressing them again. That means no hard-stress plant training, increases in fertilizer or light intensity, etc. Plant will often droop, and growth may slow the first few days after transplanting, but you don’t want to see other foliage issues.
Plants, especially cannabis plants, are incredibly durable, but a few things can go wrong when transplanting, such as contamination exposure, so even if plants don’t droop after, you still want to wait to monitor.
Final Thoughts
Seen as a way to create a healthier and stronger root mass that translates to bigger yields, many gardeners consider transplanting an essential step in their gardens. I encourage you to give transplanting a try and to not kick yourself if you see transplant shock. I experienced that a lot when first starting and almost wrote off transplanting. But I stuck with it and grew better plants as a result.
Nicholas McKenzie - Cannabis Research Specialist
Nicholas has spent the last ten years teaching gardeners, businesses, and enthusiasts how to succeed in the exciting and ever-changing world of cannabis. Whether he’s in the field getting his hands dirty or in the lab studying cannabinoids and their uses, Nicholas is passionate about bringing well-researched, factual, and concise information to an industry that very much needs it.